Thanks, Dok. I will leave the hook.
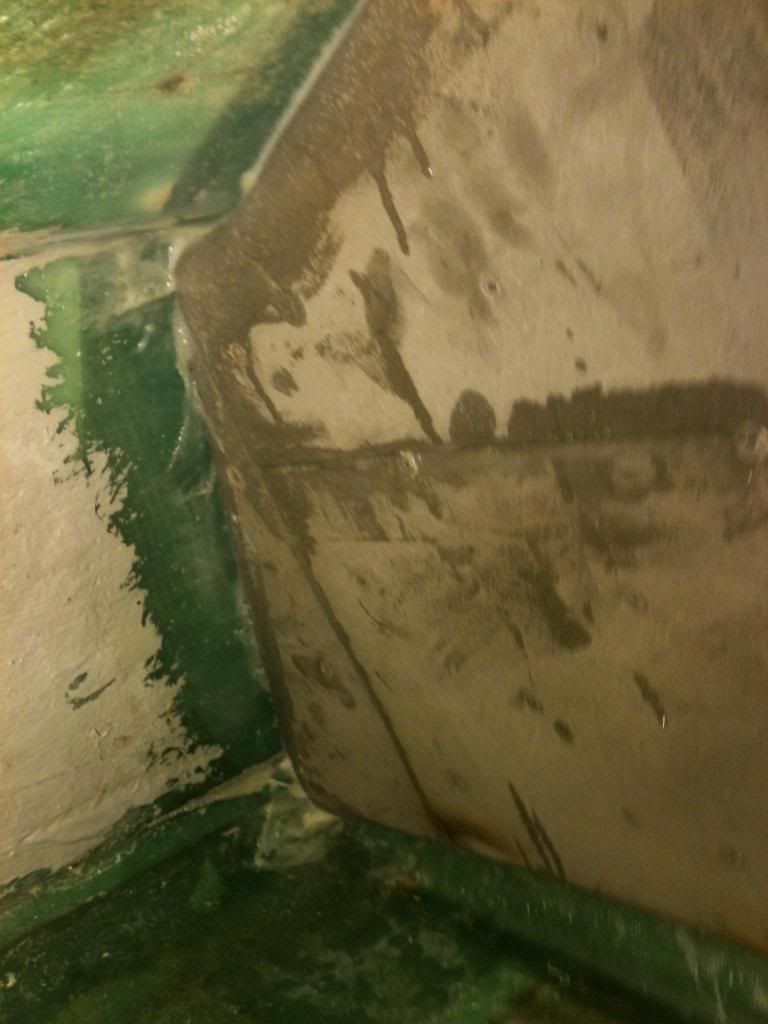
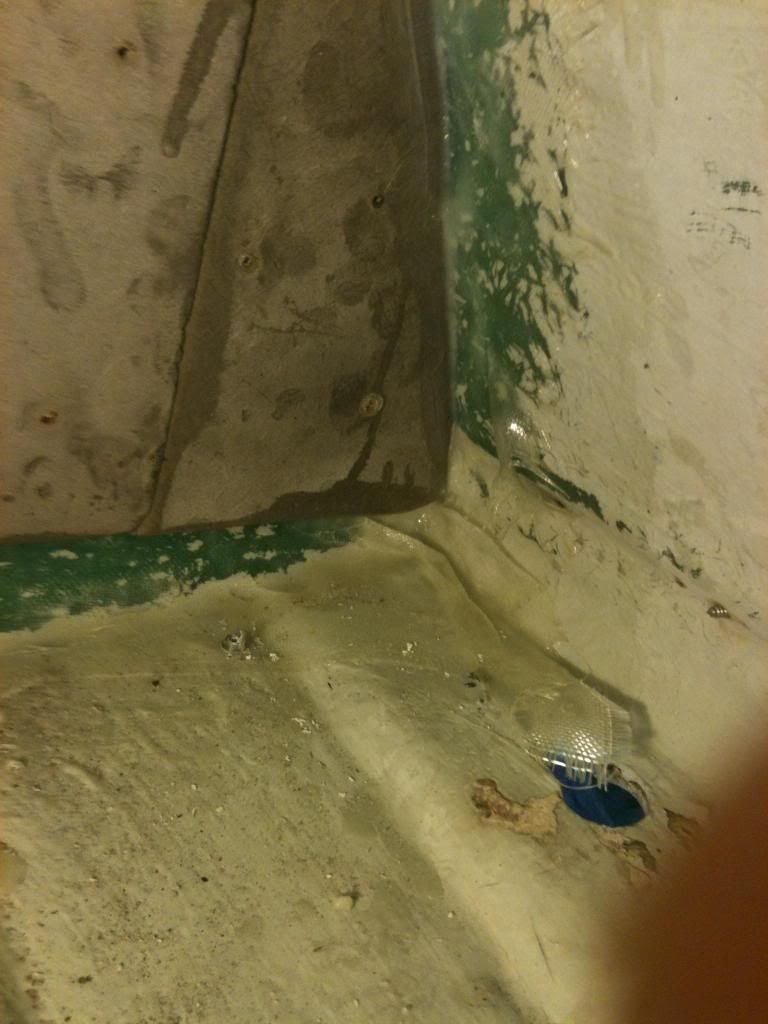
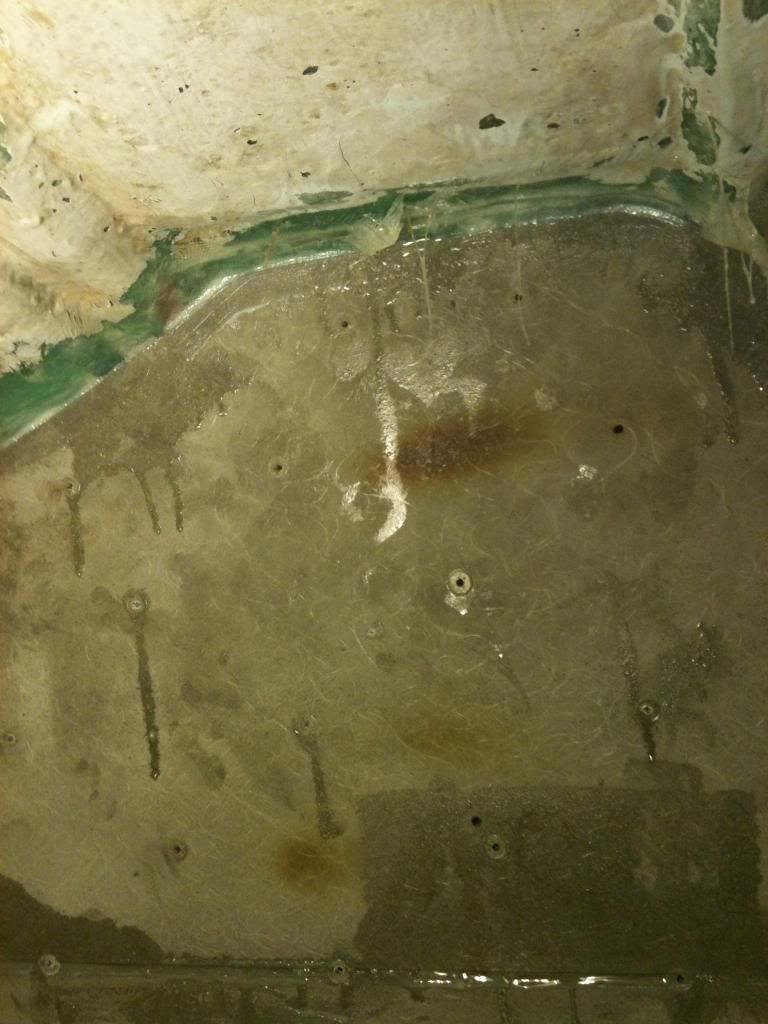
OK. Transom is in!! What a pain in the ass! Three stressful hours, start to finish. Glad I used the extra slow hardener. Only second time ever doing fiberglass and first time with epoxy. Had it everywhere by the time I was done. Pretty happy with the results, though. Thing is solid as a rock! Went through two full cans of colloidal silica. Doesn't go as far as I thought it would. Had a second can for backup and good thing. Here's some pics. Not much to see, I guess, just looking for some commiseration.
port side:
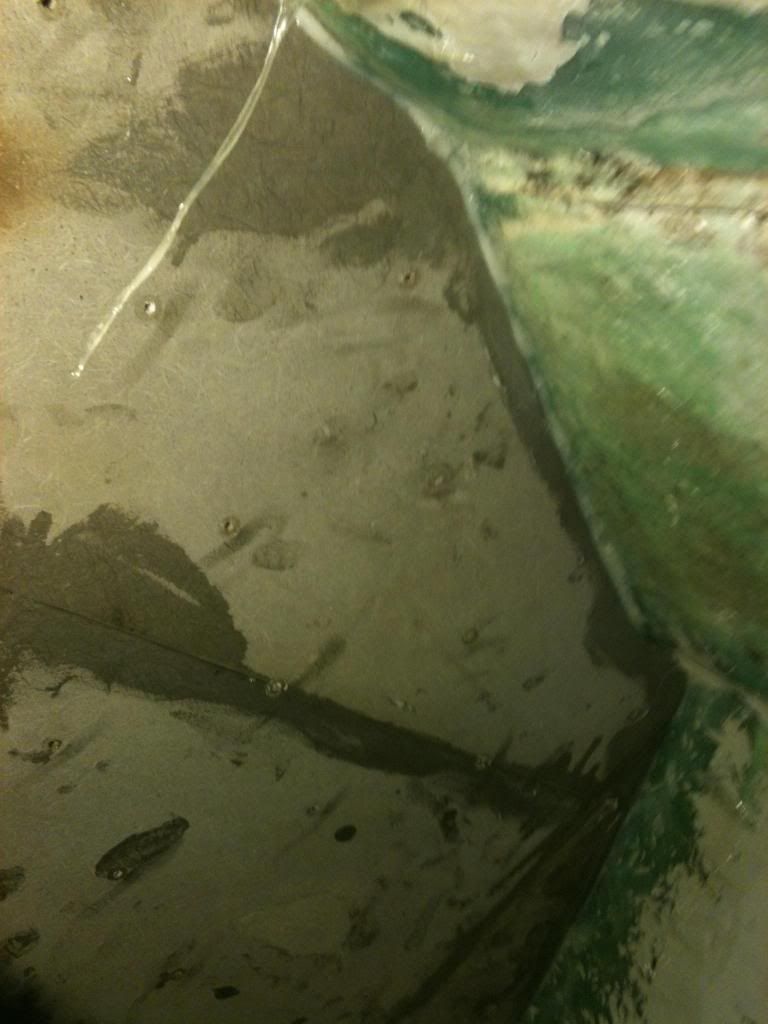
starboard side:
overall:
center:
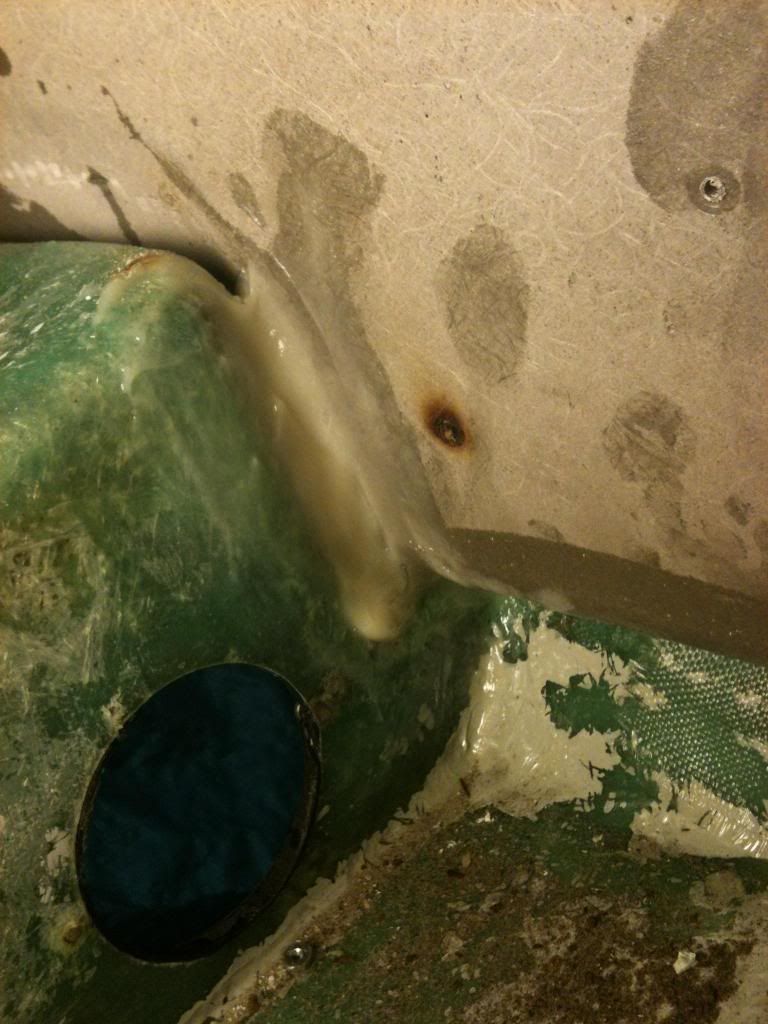
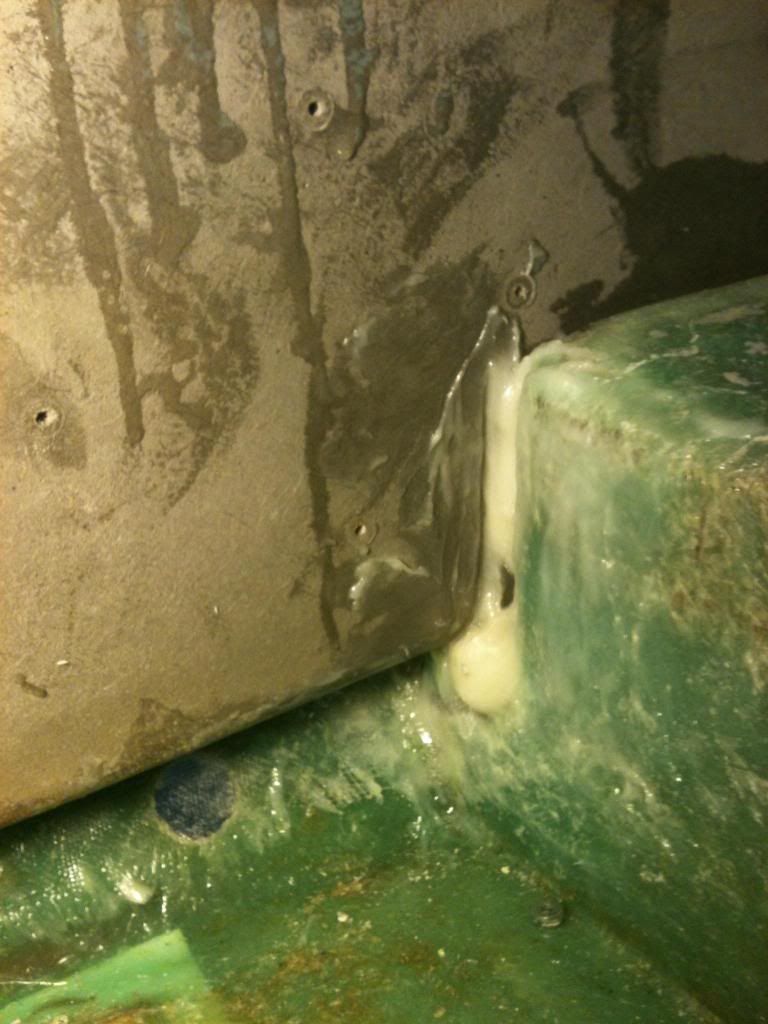
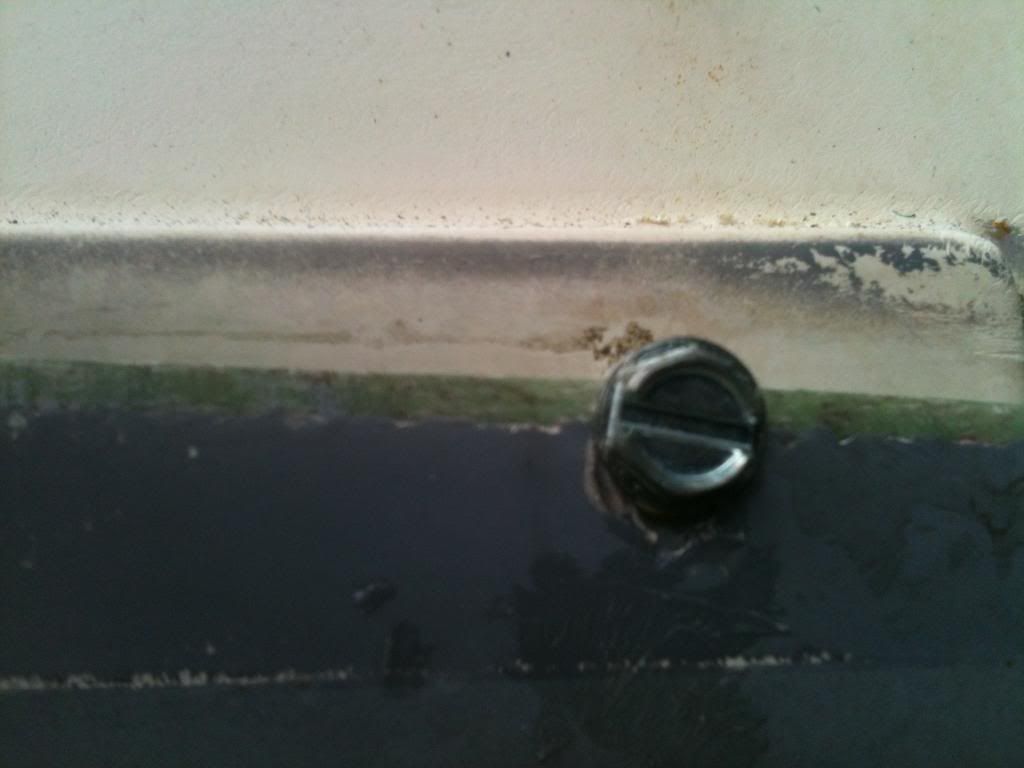
Only a few hiccups. My caulk gun decided to fail with a full tube of paste-had to push the rod to get it to squirt into the gap around the perimeter. Tried to pour neat epoxy into the small gap between the rear of the motor well and the transom face but it burned through the paste that was supposed to keep it in and it mostly leaked out. I'll try it again with some very slightly thickened epoxy later this week. Lastly, the screw that was holding the hull cap to the hull slipped slightly.
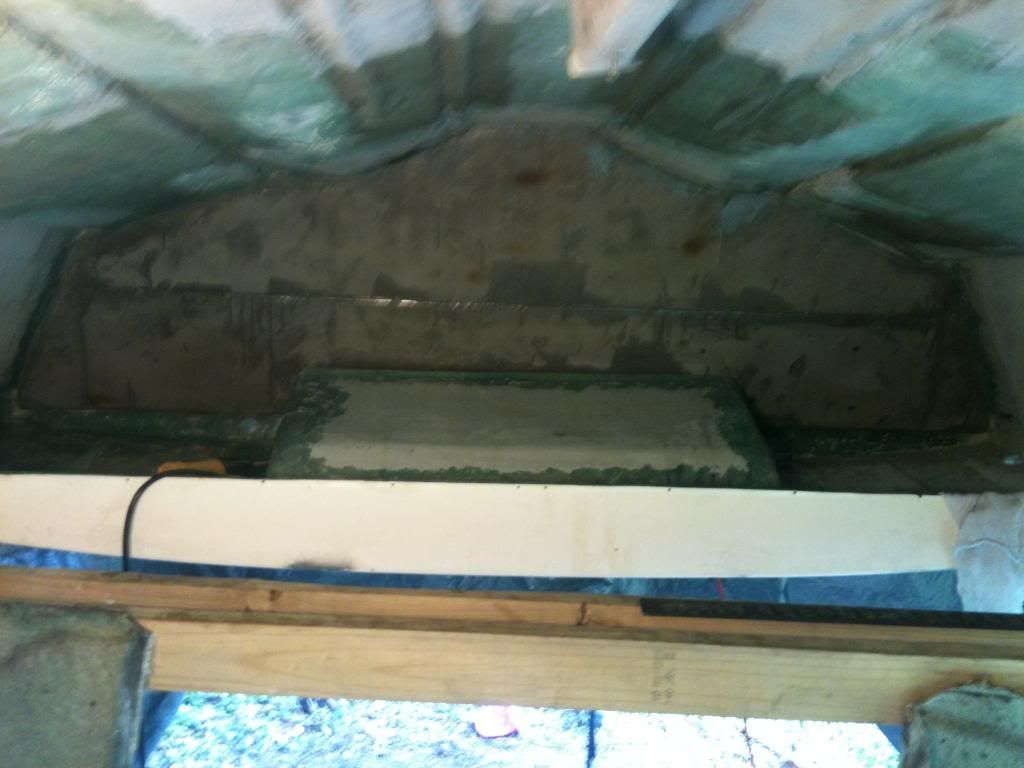
You can see the original line versus the new placement in this photo. It's only about 1/8" and I don't think it will be a problem. Do you? I will use the chines as a centerline/ square reference when I redrill the motor mounts. If the top edge of the transom where the motor sits is off, I will correct it then.
Now I have to clean up the rear seat tray/mount/thingy and reference it to the original factor position so that I can start fitting the new oversize kneeboards. This is a lot more than I thought it was going to be. Still think its worth it, though. Thanks for any input you have. Steve.